
Flat design is clean and modern—you won’t ever find elements like drop shadows, gradients, or textures used. It’s a great way to keep things simple, clear, and free of distraction. Plus, it just looks cool.
There are endless applications for flat design, but I’m going to talk about one of my favorites: the flat and minimal avatar. These avatars are all about showing your face in a simple way.

Since the rise of flat and minimal trend in design, people have been incorporating it into all the design aspects all over the internet. Be it User Interface or Graphic designing, the trend has simply taken over. You must have also noticed your friend’s facebook profile photo from the beach vacation turning to a flat and minimal avatar.
Yes, there’s no denying of the fact that such avatars look pretty cool on your social media profiles. Flat and minimal avatars are all about showing less, but showing the most identifiable parts of your own.
Feel like you’re the only one on the block without a flat and minimal avatar? Not for long. Here’s a step-by-step guide to making your very own.
Before we begin, you’ll need:
- Adobe Illustrator
- a photo of yourself that clearly shows your face. Also, you’ll only be using Illustrator’s Pen tool throughout this tutorial. So, I recommend you reading this article about using pen tool on Tuts Plus before starting with the actual design process
Step 1: Prepare the canvas
Open Illustrator and go to File > New, or just press Ctrl/Cmd + N.
Name your file and select Profile as Web (if you’re not going to use this avatar online, then select Profile as Print).

Set the height and width as 800×800 pixels. This is just your working canvas size—don’t worry about the higher resolutions, as Illustrator is vector-based and allows your artwork to be scaled up to extremely large sizes. Just increase the canvas and artwork size whenever you save for image formats like JPEG and PNG.
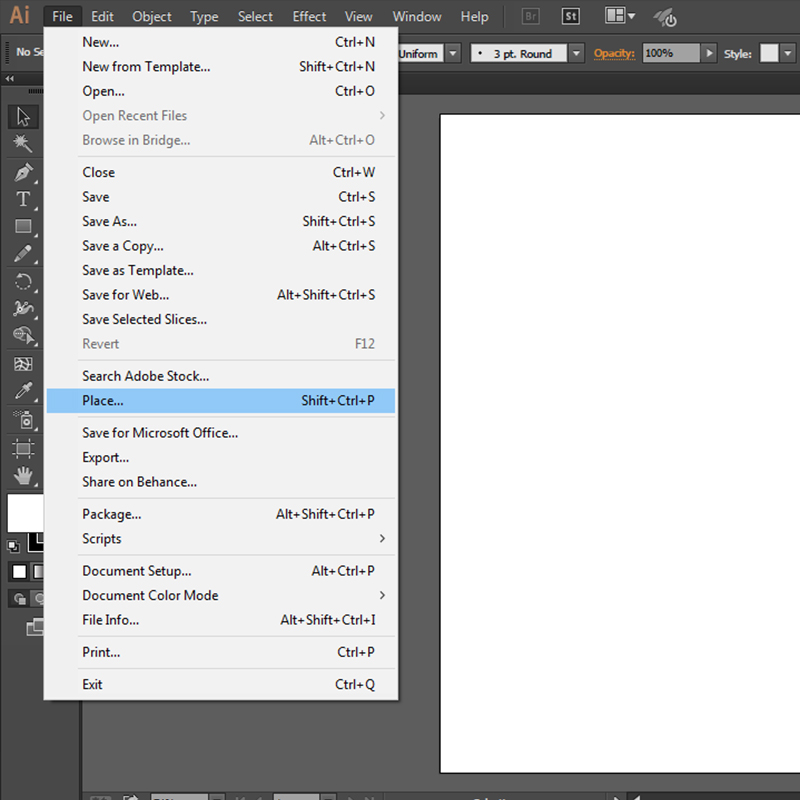
Step 2: Import your photo
Go to File > Place and select the photo of yourself that you’d like to turn into the flat and minimal avatar. The photo should clearly show your face so that you can easily trace it.
Once you’re happy with the image placement, embed it to the canvas (You’ll find the embed option in the control panel).
After the image is embedded, go to Window > Transparency and lower the opacity of the image to 60%. This will make your design process a little less distracting, as you’re going to design over your photo.
Lock this layer to prevent any unwanted changes—this is the base of your whole avatar and you’ll be creating more layers above it.

Step 3: Identifying the unique elements
What’s unique about your appearance? Maybe it’s a nose piercing, thin-framed glasses, or bright blue eyes. For me, it’s my hair, beard, and the mole on my neck.
Pinpoint some of your identifying characteristics and highlight them in your avatar.
Step 4: Start designing
Create a new layer by selecting the Create New Layer option from the bottom of the Layers Window. Name this layer Head. Creating new layers for new elements and naming them descriptively helps keep your file organized.

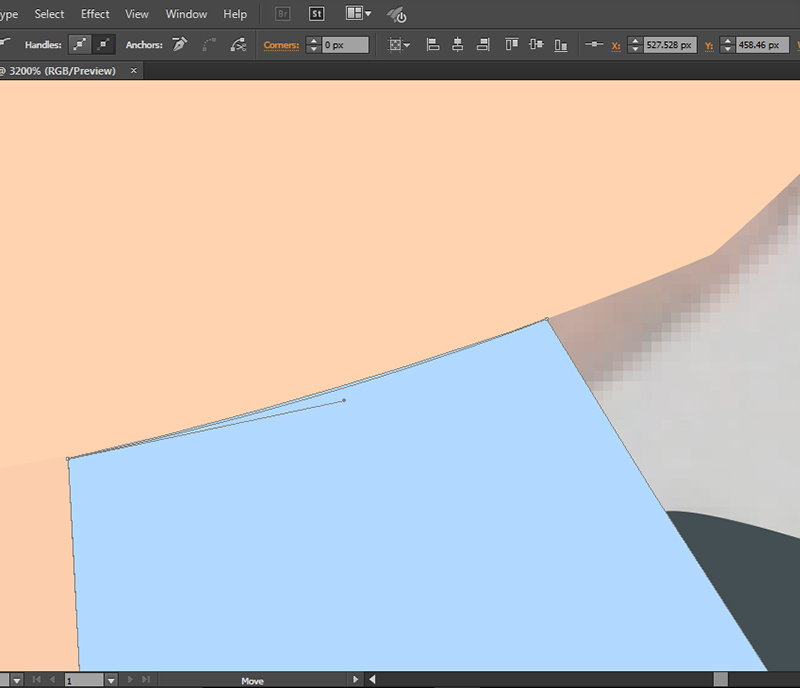
Let’s first trace the outline of the head. Select Pen tool from the Tools panel, or press P. Trace the outline of the head as shown in the screenshot below.

Once you’re done tracing, add some color. I recommend picking a color from the original image.
To pick a color, press I when the head’s path is selected. Note that this copies the complete property of the image, making the path 60% opaque. To resolve this, go the Transparencywindow when the path is selected and make the opacity 100%. Don’t forget to trace the ears (they’ll be the same color as the face).

Create a new layer and name it Hair. Trace your hair and choose your hair color from the original image. Try to create as few anchor points as possible to keep the design clean.

You can turn the visibility of the layers on or off. Take care of the positioning of the layers:smartly positioning layers in Illustrator speeds up your process. In this case, placing the Head layer below the Hair layer allowed me to be inaccurate while drawing the Head, since it was going to be covered by the Hair. Change the position of the layers by dragging them up and below each other in the Layers panel.

Step 5: Add details
Follow the same procedure outlined in Step 4 to create the rest of the design elements. To resolve issues like poorly traced paths, select the Direct Selection tool from the Tools panel or press the shortcut key A and press over the anchor points. This lets you change the position and the curve. You can also add or remove anchor points from the path by right-clicking on the Pen tool in the Tools panel and selecting the appropriate tool.
Don’t forget to zoom in and out while adding those details to your avatar. It’s the little details that’ll make a big difference in your design.
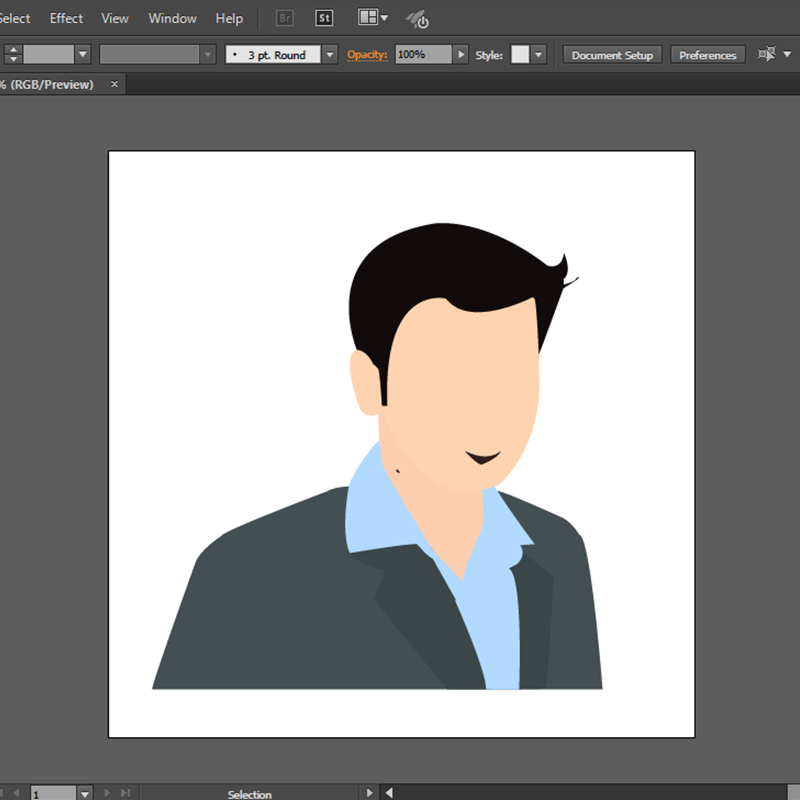
Your final design will look something like this:
Step 6: Save your avatar
Hit Ctrl/Cmd + S or go to File > Save and save your file. Stick with the default preferences.

You can also save your file for the web by hitting Ctrl/Cmd + Alt + Shift + S or by selecting File > Save for Web. This option lets you save your file as a JPEG or transparent PNG.

Play around with colors, add background or geometric boundaries, or just use it as-is. Now that you have your very own flat and minimal avatar, I’d love to see it: Tweet it to @WeirdoWizard.

_______

Well written post..
enjoyed reading it !
Ethnic Vday Look
Glad that you enjoyed it, Ananya.
This is interesting!!
Thanks for the info.
As a starter, what are the hardware requirements to go ahead with creating a flat and minimal avatar? Is an electronic pen and a touch interface pad required?
You’re welcome, Aamir.
Just a basic computer/laptop with 2-4 gbs of RAM would do the trick. Nope, pens are used for more complex illustrations, a mouse would be sufficient for this one.