
We all have a Hero, whom we praise, appreciate, applaud & wish to match their skill sets. We also have an another self within, don’t we? We sometimes wish to represent ourselves with both the faces viz., the actual one which is visible to the outer world & the one we are deep within.
Thanks to Adobe Photoshop, we can actually do this now. Follow the step-by-step tutorial below to make a 2 face picture in Adobe Photoshop:
1. Open your Original image & the face to be merged in Photoshop
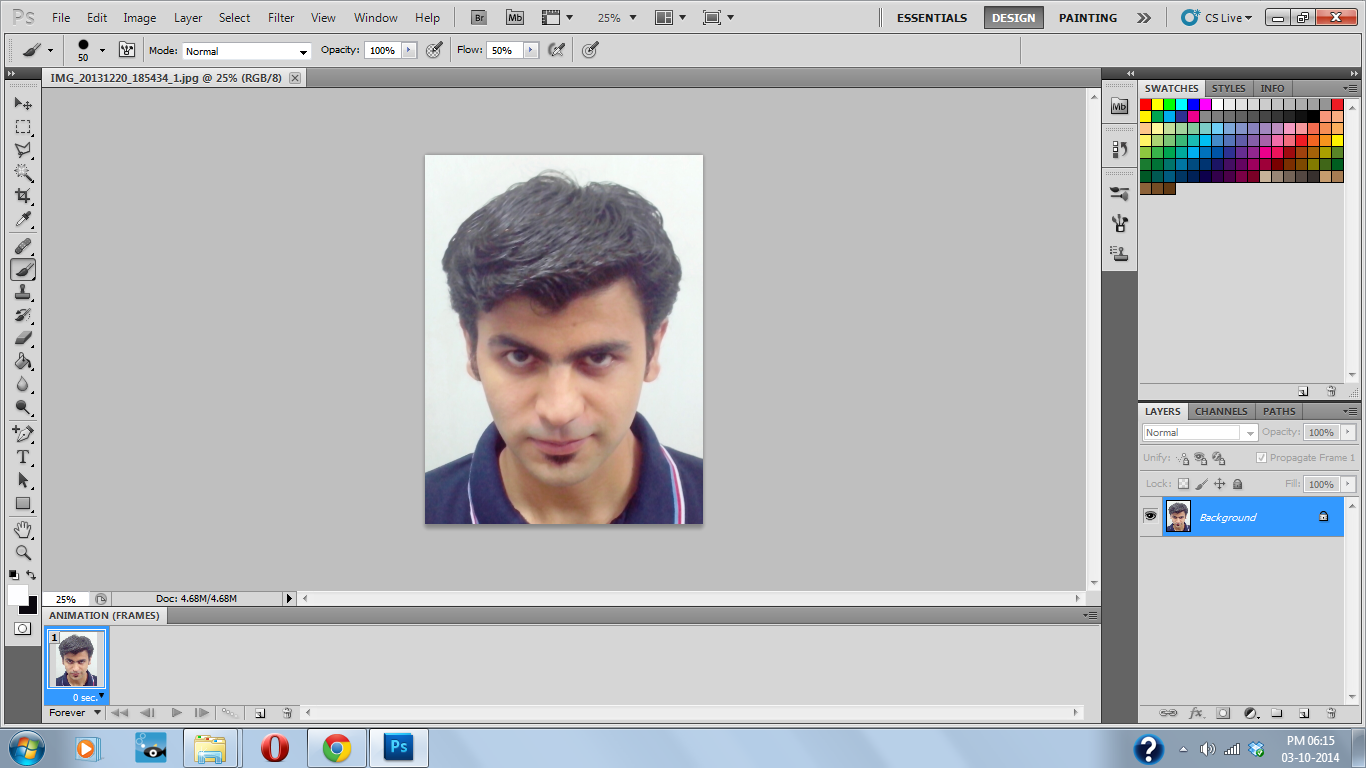

This can be done by opening the file from within the software or by right clicking on the image & selecting “Open with Adobe Photoshop“.
2. Select the face & paste it on the Original image

Use shortcut Ctrl+A to select all & then paste it on the Original image again by using the shortcut Ctrl+V. Then press Ctrl+T to transform the face.
3. Reduce the Opacity of the Face image to ease the adjustment
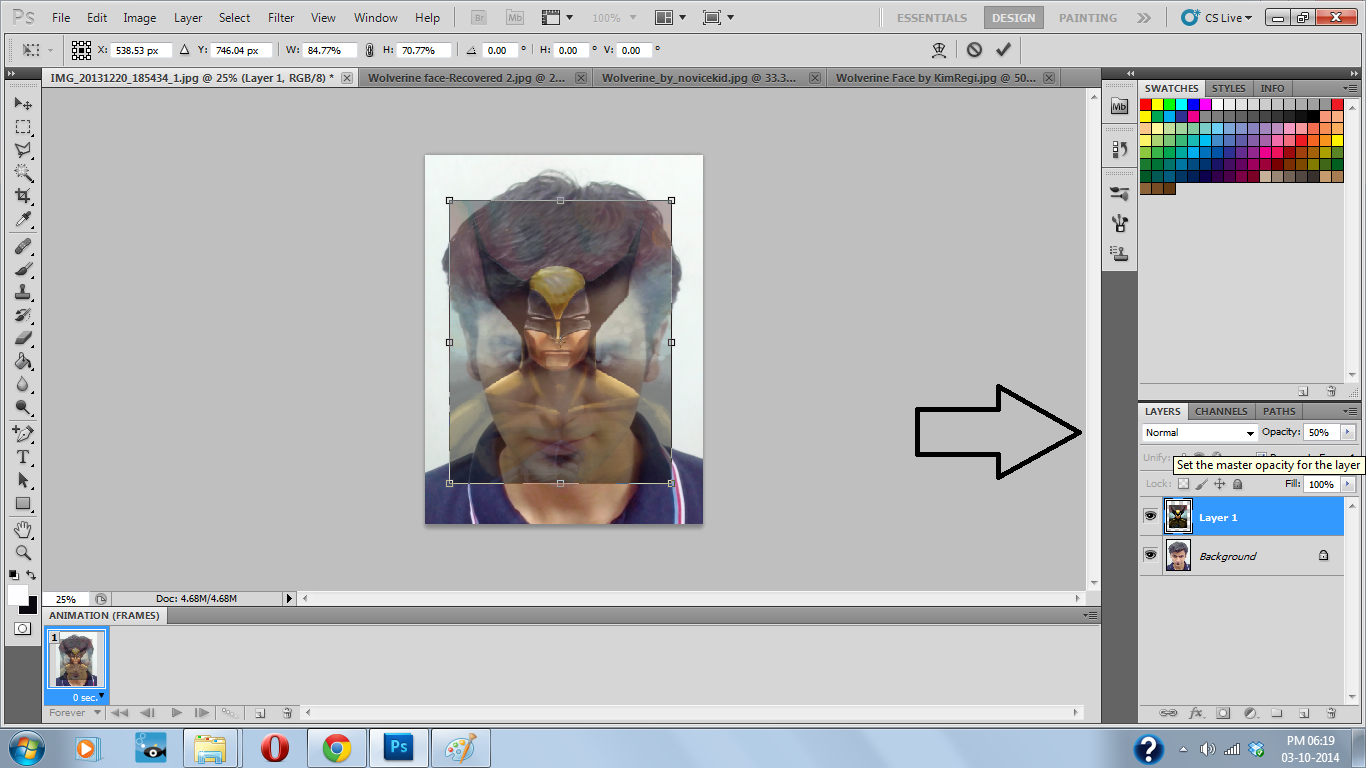
Just follow the above image & reduce the Opacity to about 50%.
4. Adjust the image to match Faces
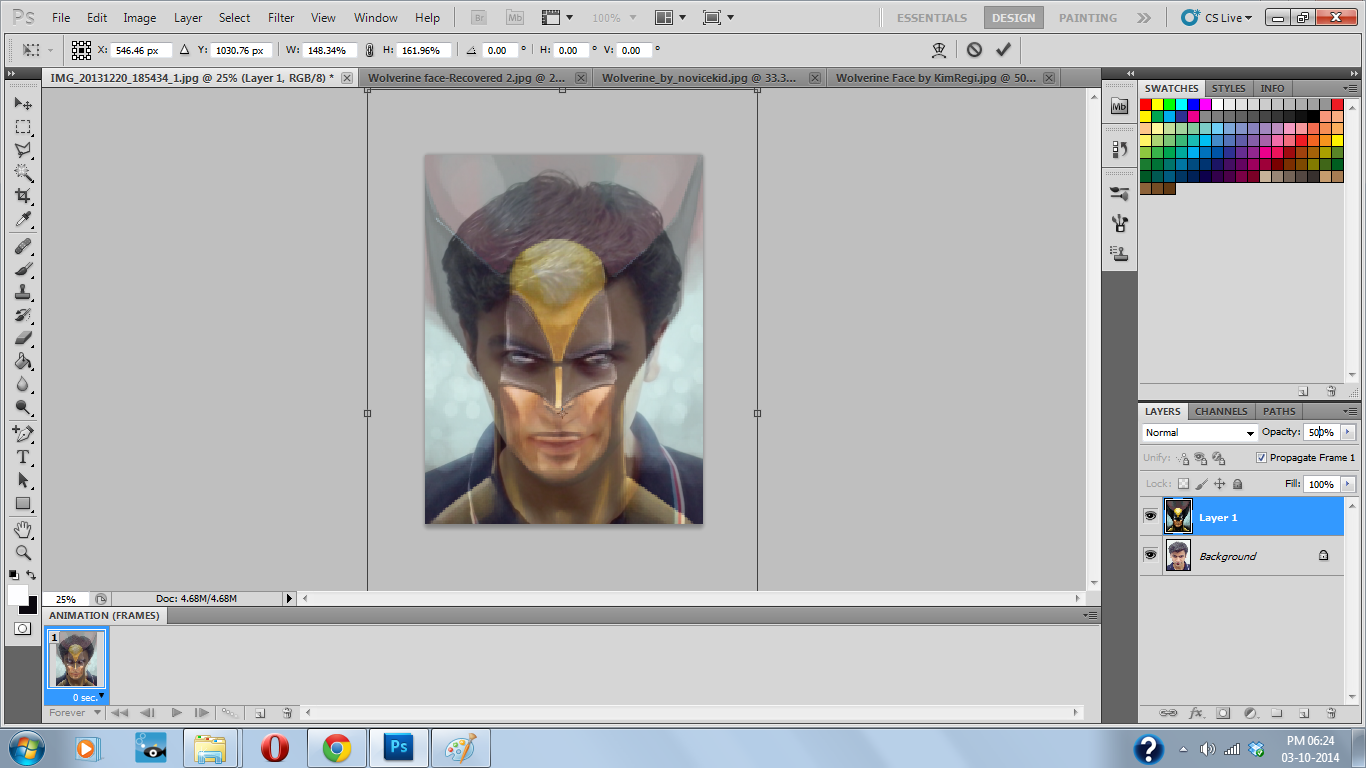
Start adjusting by inclining the eyes of both the Faces, then take care of the over all face. Keep adjusting until you are satisfied with the Face positions.
5. Increase the Opacity & commit the Transform
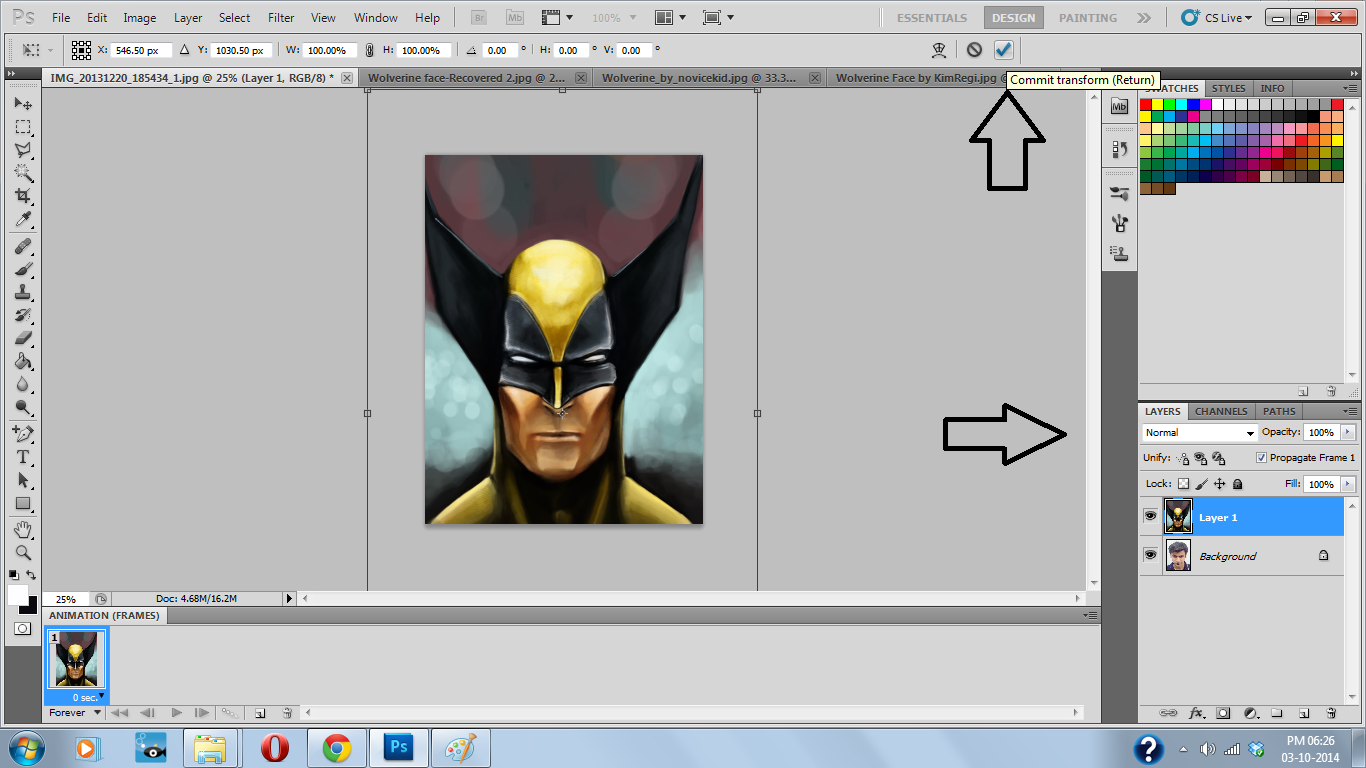
Once you’ve found the perfect adjustment for the Faces, you can proceed to increase the Opacity back to 100% & finally commit the Transform.
6. Add a Layer Mask to the Face layer
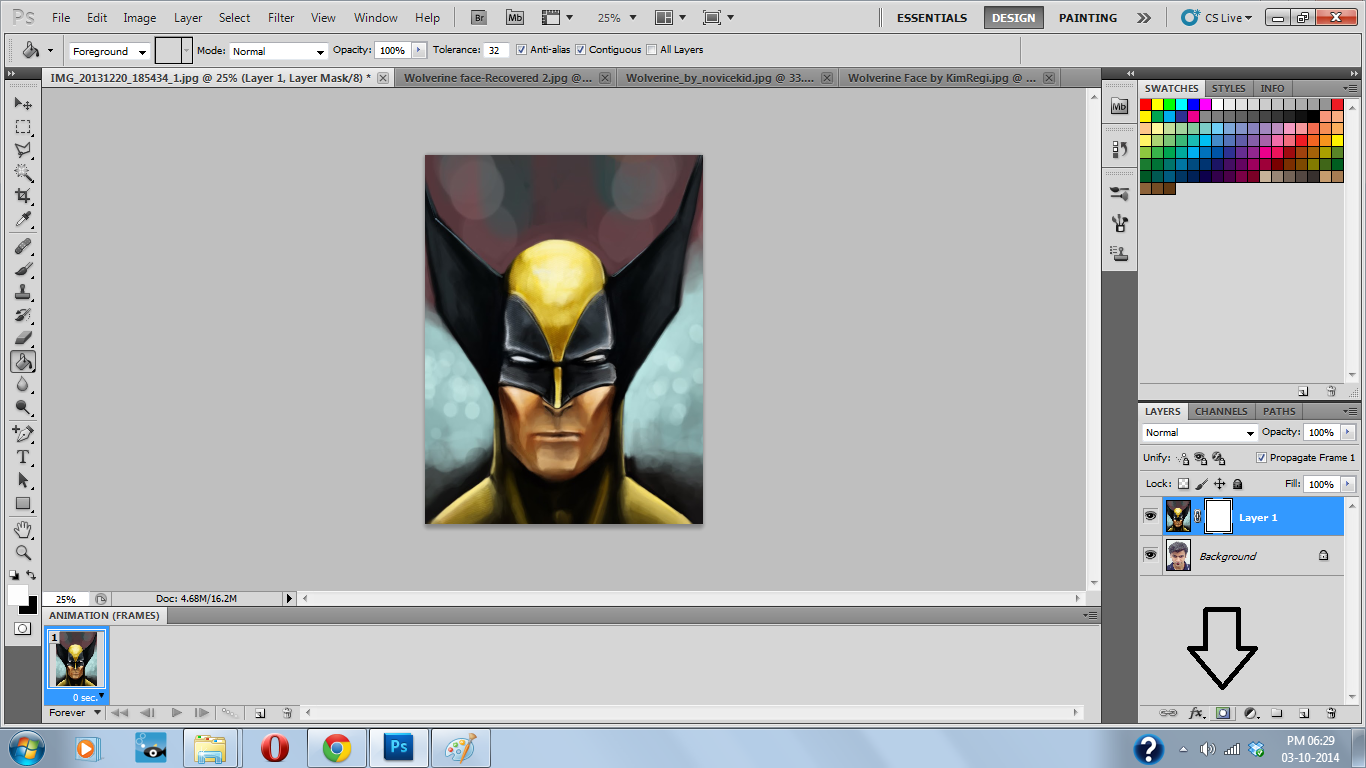
Layer mask can be added by selecting the “Add layer mask” tab available at the bottom of the layer edit window (refer above image). Layer mask will appear in white when you add it initially.
7. Select Paint Bucket Tool & change the foreground color to Black
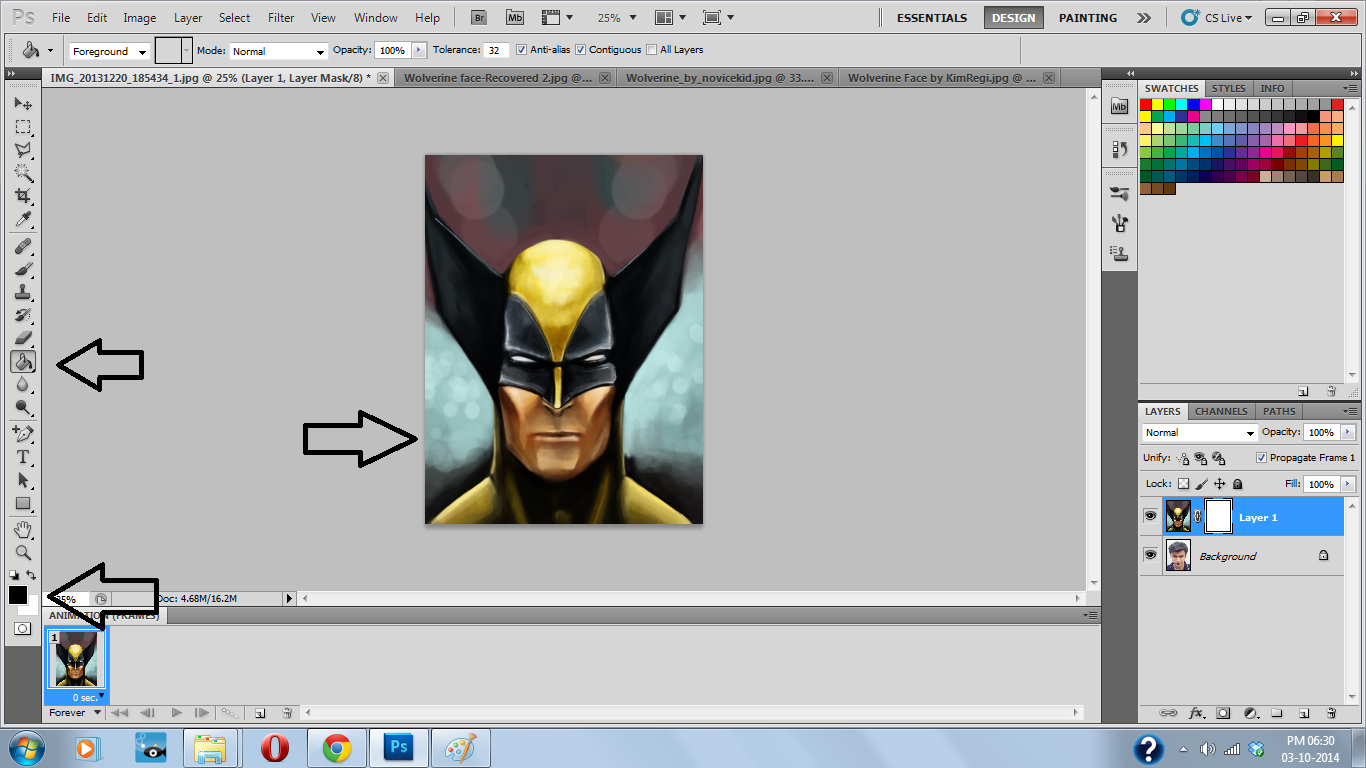
Select the Paint Bucket Tool from the Tool Window which is placed at the left most side of the software & change the foreground color to Black & the background color to White. Apply the color to the Face layer.
Note that the layer mask in the Face layer will now turn to black after applying the above changes.
8. Select Brush Tool, change the foreground color to White & start applying it on the image
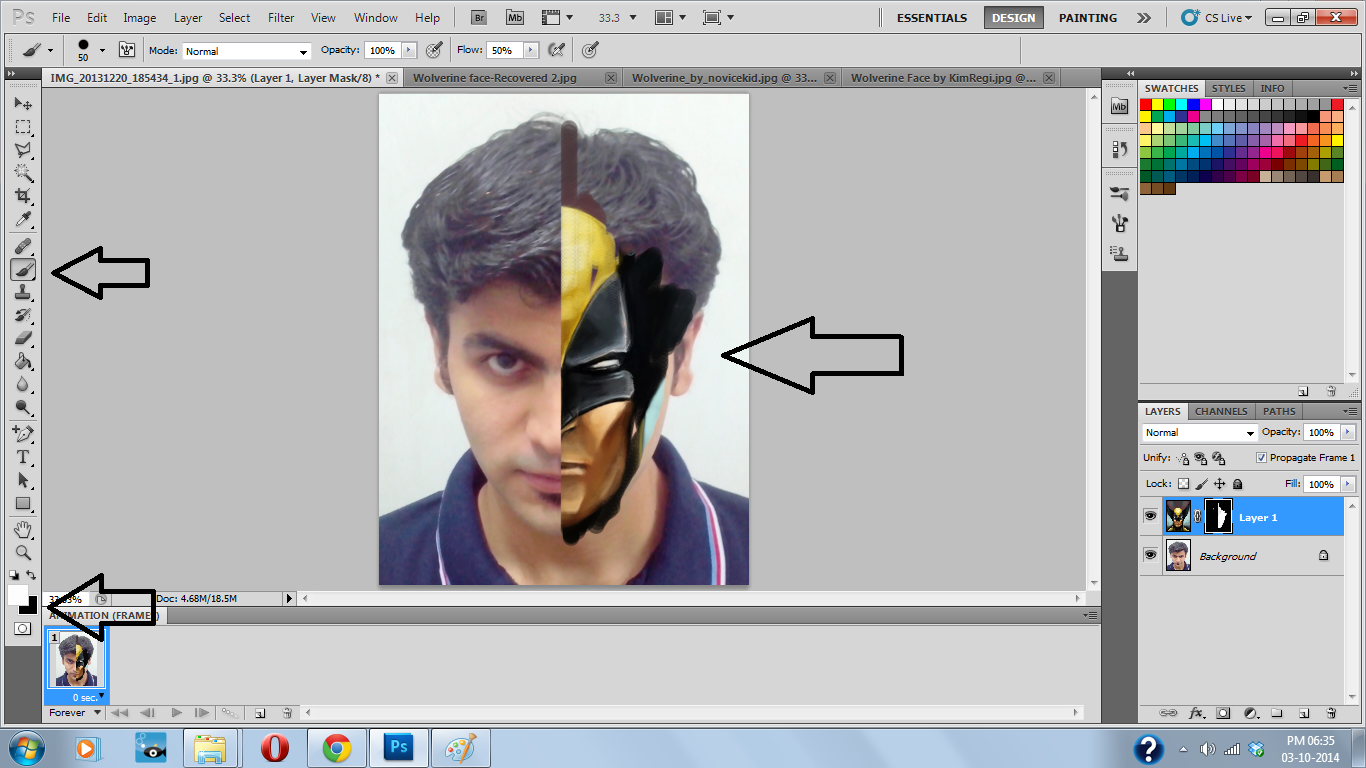
Select Brush Tool again from the Tool Window & switch the foreground & background color as seen in the above image. After this is done, start applying the Brush Tool on the Face image. Do it as per your satisfaction.
Tip: Keep pressed Shift key & then apply the Brush Tool to obtain straight lines.
9. Use Eraser Tool to give the finishing touches to the design
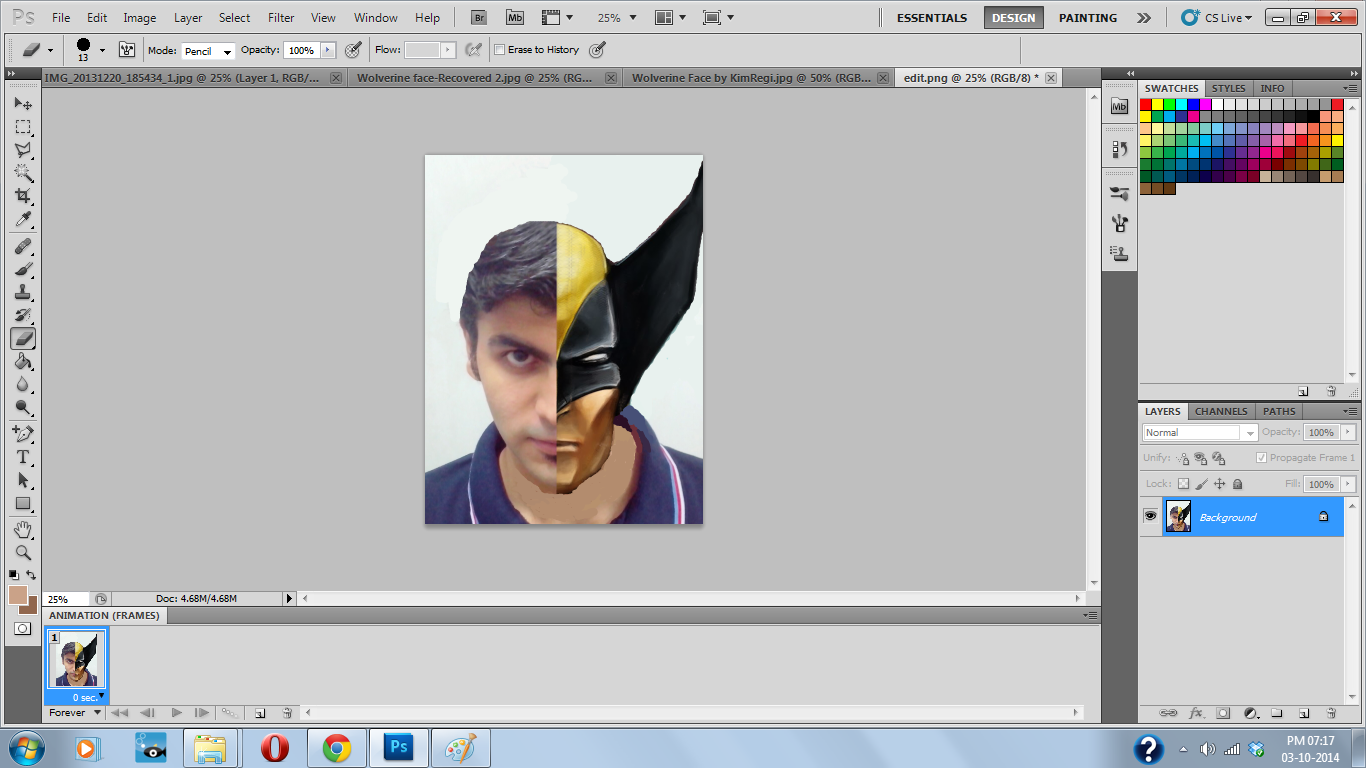
Knowing to use the Eraser Tool is the Photoshop basics, but you don’t have to worry if you aren’t aware of it. I’ll soon add a tutorial on “How to use Eraser Tool in Photoshop“. Till then, you’ll have to take the help of Google, sorry!
Here are some of my designs on 2 Face category, you can call them #DGDesigns 😉
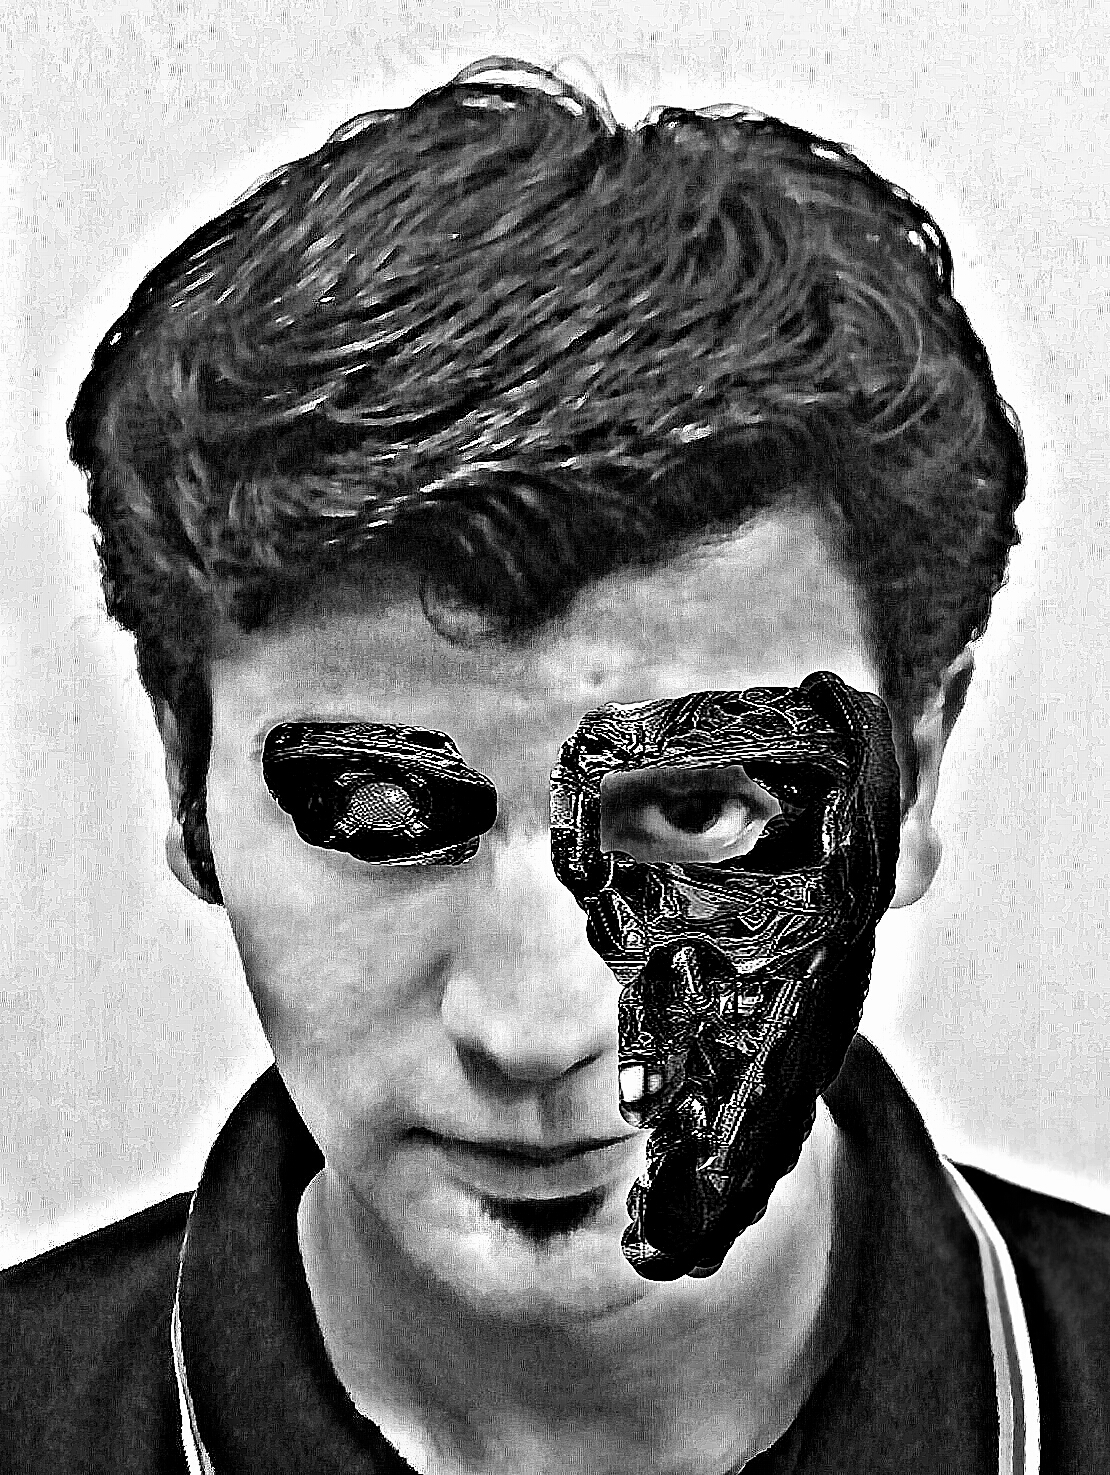
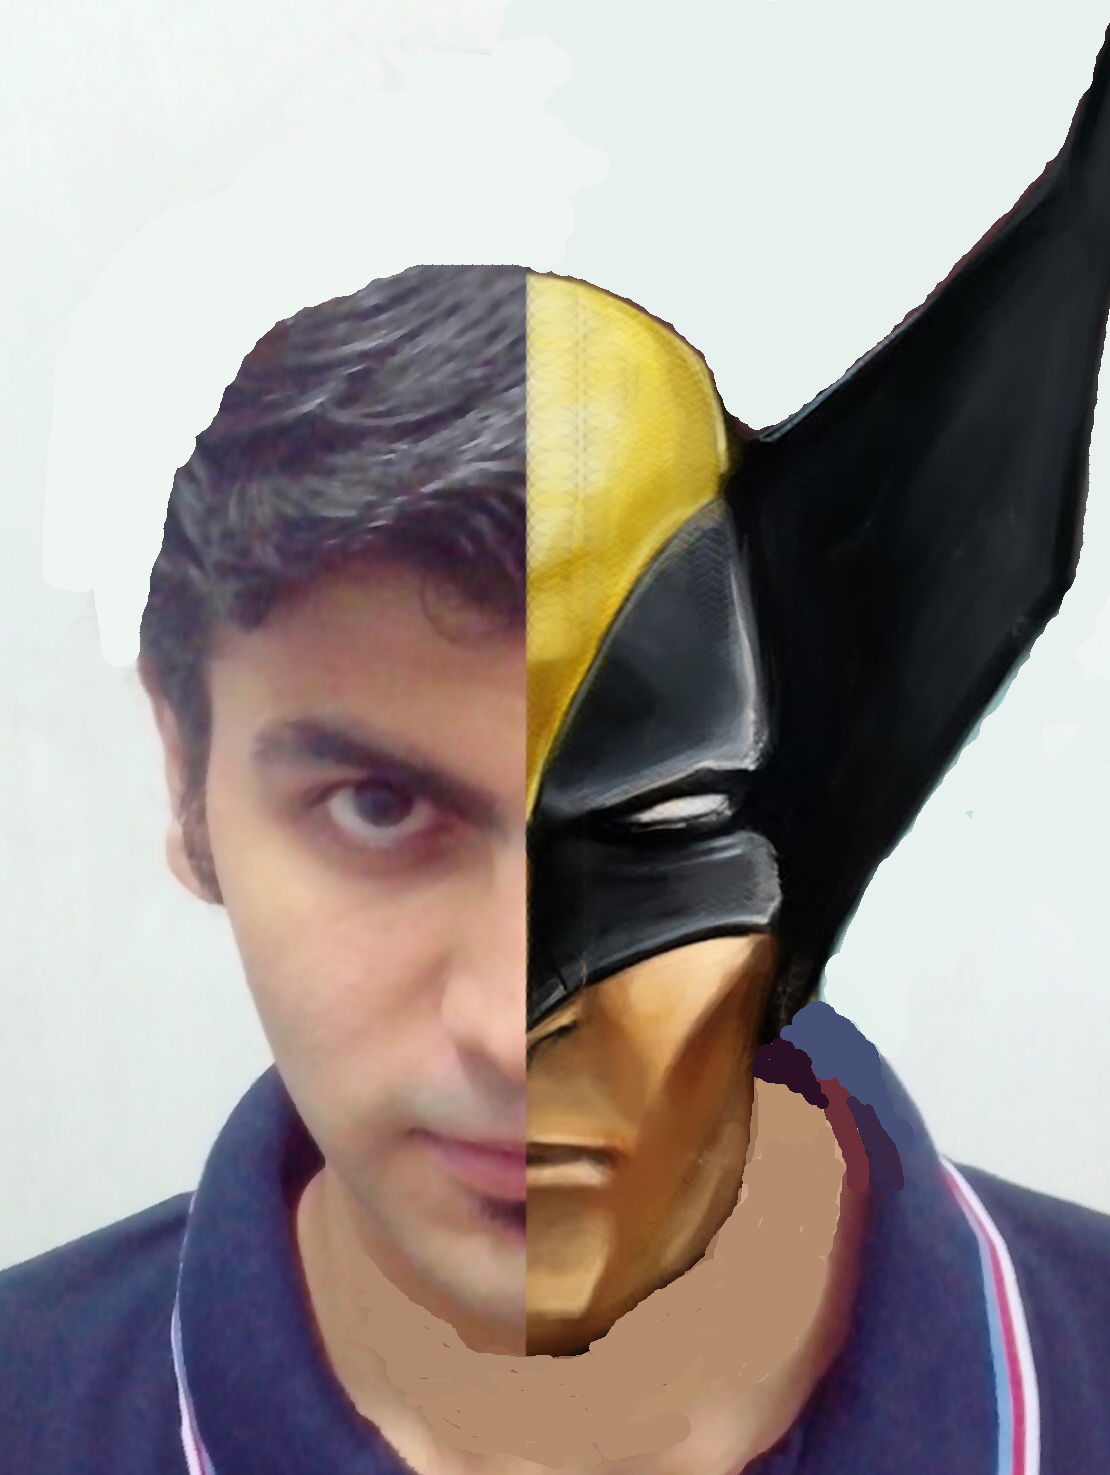
Please share your doubts (if any), kind words, criticism, whatever you feel about this post in the comments section below 🙂
